How to Edit a Podcast: A Clean, Repeatable Workflow
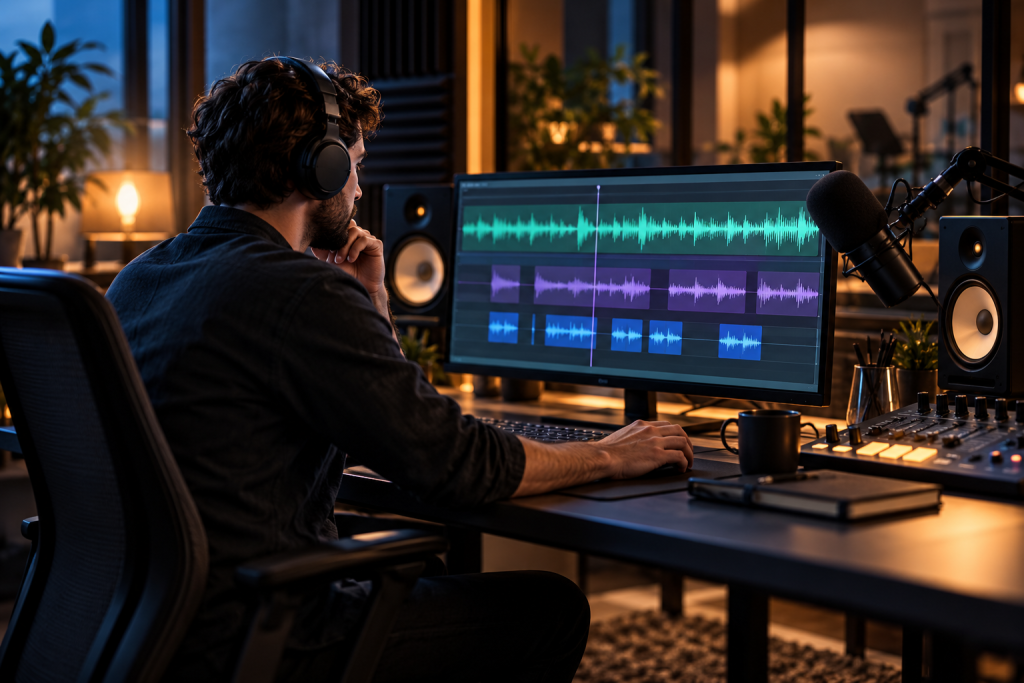
Every podcast I’ve rescued from the “why does this sound terrible” pile had the same problem: no workflow. Not bad gear. Not a bad voice. Just a person editing in circles, fixing the same hiss six times because they never committed to a pass.
Here’s the workflow I actually use. It’s boring, it’s repeatable, and it finishes.
Step 0: Make the edit pass before you touch a single plugin
This is the mistake almost everyone makes. They open Pro Tools or Reaper or Audacity, load up a channel strip, and start EQing a take that still has a cough and a “uhhh, wait, let me check something” three minutes in. You are polishing a rock.
The first pass is pure editing. No effects. Just cuts. Remove the dead air, the flubbed intros, the sips of water, the “can you hear me?” moments. If you track in Pro Tools, this is where its audio editing strengths live: slip, grid, shuffle, and spot modes, playlists, region groups. It’s purpose-built for surgical work on a mic, not loop-based music, which is exactly what a podcast cut is. In Logic or Reaper you’ll find equivalents, just with different names. Get the conversation clean first.
The one exception: if the interview was recorded remotely, fix drift and sync now before anything else. Wrong-order work is how you end up doing it twice.
Step 1: Noise reduction, then leave it alone
Clean the room tone and any hum. One pass. Set your reduction broad and shallow rather than aggressive and narrow, because aggressive noise reduction is how you get that underwater, phasey, “recorded in a bathroom” sound that no amount of downstream EQ will save. If the source was bad, you can’t fix it here. Accept it and move on. This is not the step to be precious about.
Step 2: Cleaning EQ, not creative EQ
Now we shape. But start with the cleaning pass, not a tone-shaping one.
Cleaning EQ is about turning down anything that’s a little too loud. If the high mids have a harsh edge on a particular voice, turn them down. If it’s muddy down low, cut some low-mids. The trick is subtlety and broad Qs. Small moves, wide curves, no narrow surgical notches unless you’re killing a specific resonance, and even then, keep it conservative. A transparent EQ does this better than a character EQ. You want the voice to sound like the voice, just less annoying.
Bonus: a de-esser lives here too. When a speaker’s “S” sounds poke out, a de-esser catches them as they get loud. You can do it with an EQ, but a de-esser works better if you only want to catch occasional peaks. Be careful: you’re affecting the whole track, so keep it subtle and check that it’s only firing when the sibilance actually happens. I’ve heard de-essers clamp down on a whole sentence because the threshold was set lazy.
Step 3: Compression, and yes, use it for glue
Lack of glue is one of the telltale signs of an unmastered mix, and podcast dialogue is no different. A glueing compressor’s whole job is to bind the track together, and for a spoken-word conversation that’s exactly what you want: same voice density from start to finish, no passenger suddenly louder than the host.
Set it gently. You want a couple of dB of reduction on the loud parts, not a squashed wall. If you have a music bed under the intro, this is also where you tame it with the same compressor, or a separate one, so it doesn’t fight the voice.
One caveat that bites people: if the room was untreated, the compressor will also lift the room. Even the best mic sounds bad in a poorly treated room. Reflections and room resonance get louder under gain reduction. If that happens, back off the compression and fix the room next episode.
Step 4: Loudness and tone in one move
Loudness normalize to your target platform spec, or a common -16 LUFS for stereo podcast, and check the true peaks don’t clip. That’s it. No limiter gymnastics. No “mastered by a mastering chain on the podcast bus” unless you’re deliberately going for a produced sound.
Then a slow listen. This is where you catch the things the grid doesn’t show you: a guest who drifted off-mic, a joke that landed flat because the room was cold, a transition that reads awkwardly.
Step 5: Save the template, stop reinventing
The real point of this workflow isn’t this sequence. It’s that it’s the same every episode. Your cleaning EQ, your de-esser setting, your compressor, your loudness target. You stop making decisions and start making episodes.
This is also why I care about what DAW you’re in. Pro Tools 2026.4 added Track Pin, which locks tracks to the top of the Edit window for all users, and Speech-to-Text now carries transcription through rendered files. For a podcaster with an interview-heavy show, transcript-driven editing is a genuine workflow shift, not a marketing bullet. You can search the text, find the moment, cut it, and never scrub the timeline. Not every DAW has that, and it’s the kind of thing that decides whether your edit session is 20 minutes or two hours.
What to keep, what to throw away
A few trade-offs I’ve landed on after too many episodes.
- Keep: One broad cleaning EQ, one de-esser, one glue compressor, one loudness target. That’s the whole chain.
- Throw away: The idea that a premium plugin library rescues a bad room. It doesn’t.
- Keep: A scratch listen with the music bed muted, so you hear the dialogue honestly.
- Throw away: Aggressive noise reduction on an interviewing voice. It’s the fastest way to make a person sound like a phone call from 2004.
- Keep: The edit pass first, effects second, always. It’s the single most time-saving rule here.
If you do one thing differently next episode: edit it silent first. No plugins, no effects, just the cut. You’ll hear the real problems, and most of them will be in the edit, not the mix.