Field Recording for Beginners: Gear, Settings and First Steps
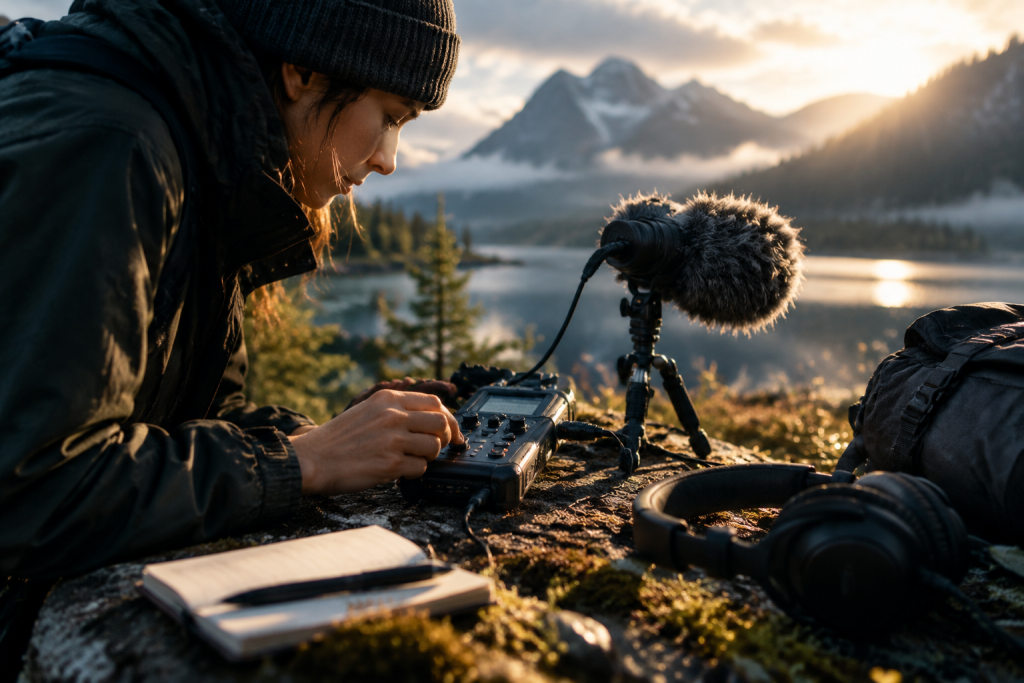
The first time I tried to record a dawn chorus, I came home with twenty minutes of what sounded like a washing machine full of gravel. My mic was pointing at a road. My gain was too high. And I had no idea that the low rumble I kept hearing was the fridge in my own kitchen, recorded from two gardens away.
Field recording is humbling like that. But almost every mistake is fixable, and the fixes are cheap. Here is what actually matters when you take a microphone outside for the first time.
Your Mic Does Most of the Work
There is a line from the folks at Major Mixing that I keep coming back to: 90% of your vocal quality comes from your mic, and the rest is mixing. The same principle holds outdoors, only harder. A bad-sounding capture cannot be rescued later, no matter what plugins you throw at it. Air is your mix bus now.
That changes how you spend money. Their advice is blunt and correct: allocate the biggest chunk of your budget to the microphone, not to accessories or a fancier interface. A $500 mic into a $100 interface will usually beat a $100 mic into a $500 interface.
What kind of mic for the field
Microphone character matters more than brand logos. When you shortlist options, aim for contrast, not five variations on the same sound. A useful shortlist includes a condenser for detail, a dynamic for ruggedness and warmth, and maybe a ribbon if you want something darker and more vintage.
For a first field kit, I would start with a small-diaphragm condenser and a handheld dynamic. The condenser gives you air and transient detail: birdsong, leaves, rain on a tin roof. The dynamic survives wind, rain, and being dropped in a bag, and it handles loud sources like trains and crowds without flinching. If you can only buy one, buy the dynamic. You will use it in places where you would never risk the condenser.
Here is the part nobody tells beginners: test microphones before you commit. Book an hour, record the same source on five or six mics, and listen back. Ten to fifteen minutes per mic is plenty. Do it at home if your room is quiet enough, or rent and try before buying. Your ears will tell you things a spec sheet never will.
Pick an Interface That Gets Out of the Way
An audio interface is the bridge between your microphone and your computer. It handles analog-to-digital conversion, digital-to-analog conversion for monitoring, and microphone preamps. Your laptop’s built-in sound card was never designed for this. It adds noise, it adds latency, and it has nowhere to plug a real microphone.
Gain is the spec you care about
If you plan to use dynamic mics outdoors, preamp gain is the number that matters. The Focusrite Scarlett Solo 4th Gen runs about $130 and offers up to 69dB of gain, which is a meaningful upgrade for dynamic microphones. It also includes Air mode, a subtle high-frequency lift inspired by classic ISA preamps, and a front-panel instrument input. For a solo recordist, that is plenty.
The Audient EVO 4 costs roughly the same and does something genuinely useful for beginners: Smartgain sets your input levels automatically. If you are still learning gain staging, and outdoors you will be, that feature earns its keep. Under the hood it uses preamp technology borrowed from Audient’s higher-end consoles, so the sound quality punches above its price.
On specs, do not overthink. Most modern interfaces handle at least 24-bit / 192kHz. For field work, 24-bit / 48kHz is the sweet spot: excellent quality, manageable file sizes. Higher sample rates help with sound design work but are rarely necessary for straightforward recording.
Input count and connectivity
Think about what you need to record simultaneously. One or two inputs covers solo work, ambience, and most podcast-style capture. Four inputs lets you run a stereo pair plus a direct source. Eight or more is for full bands and heavy drum miking, which is not what you are doing on a walk.
USB-C is the standard now and works on both Mac and Windows. Bus-powered interfaces mean one less cable to forget.
Settings to Set Before You Leave the House
Gain staging outdoors is a moving target. Wind gusts, passing cars, and birds that refuse to stay put all change your levels. Set conservatively.
- Aim for peaks around -12dBFS. Headroom is your friend. A loud gust clipping your take is unrecoverable.
- Record at 24-bit. The extra dynamic range means a quiet take can be lifted later without audible damage.
- Turn off any built-in limiter or auto-gain unless you are deliberately using Smartgain. You want the honest signal.
- Enable a low-cut filter if your mic has one. It will not save you from everything, but it trims rumble you cannot hear in the moment.
- Monitor on closed-back headphones. Open-backs leak your playback into the recording.
And test before you walk. Record thirty seconds, listen back on headphones, and confirm you are actually capturing what you think you are capturing. I have lost whole mornings to a cable that was half-seated.
Wind, Handling Noise, and the Fridge
Wind is the number one killer of outdoor recordings. A foam windshield helps a little. A proper furry windshield, the kind that looks like a dead animal on your mic, helps a lot more. Buy the right size for your mic and use it even on calm days.
Handling noise is number two. Every finger movement travels up the mic body. Use a shock mount or a pistol grip, and if you are holding a handheld dynamic, grip it lightly and keep your hand still.
Then there is the invisible stuff. Traffic hum two streets over. A heating system. Your own breathing. Move away from it. Stand still for a full minute before you hit record and just listen. You will hear things your ears filtered out automatically.
What to Actually Record First
Do not chase rare sounds on your first trip. Chase clean ones.
Start with a single steady source: a fountain, a busy street corner, rain on a window, a train passing. Record it three ways. Close, medium, and far. Listen to how distance changes the character. That one exercise teaches you more than any tutorial.
Then try a longer ambience take, five to ten minutes of a place doing its thing. This is where field recording gets interesting, and it is also where patience pays off. Sit still. Let it run. The good moments arrive on their own schedule.
Back Up Before You Edit
Field recordings are fragile things. Copy every card to two locations the moment you get home, before you open an editor or rename a single file. Cards fail. Laptops get coffee spilled on them. The take you cannot recapture is the one you will lose.
Label your files with the date, the location, and a short description. Six months from now you will not remember which “ambience_04” was the good one.
The gear gets simpler every year. The discipline does not. Get those two things roughly right, and your first recordings will embarrass the ones you made last month.